More workers are telecommuting in these past few months than ever before. Employees working from home are quickly learning the ropes of hosting virtual meetings and webinars over Microsoft Teams, Google Hangouts, Skype Conference, or Zoom. Whatever your preferred online platform, there are best practices for making sure you appear professional and communicate clearly during any video conference or video project.
Lighting
Our at-home offices were not designed for proper video lighting, so you must put extra effort into fighting against shadows, dark corners of the room, or dim office lights. To make the most out of natural lighting, try sitting and facing a window – this shines the sunlight directly onto your face. If you’re scheduling a recording, try to film in the morning or early evening for softer, natural lighting, and be aware of partly cloudy weather to avoid inconsistent light.
Choose your background wisely
Video conferences give us a peak into the personal lives of our coworkers, clients, and customers. Pictures on the wall, furniture in the background, and children popping onto the screen are all new accompaniments of our online video meetings. With this in mind, it is important to arrange your backdrop to appear focused and professional during your time on screen. Don’t sit in front of unfolded laundry or at a messy kitchen table. Clean up what’s behind you or pick an area that won’t be distracting to the viewers. This includes finding a spot away from the children or dogs – we can now all closely relate to the CNN reporter whose child danced into his TV interview. As a last resort, hang a bed sheet behind you as a backdrop.
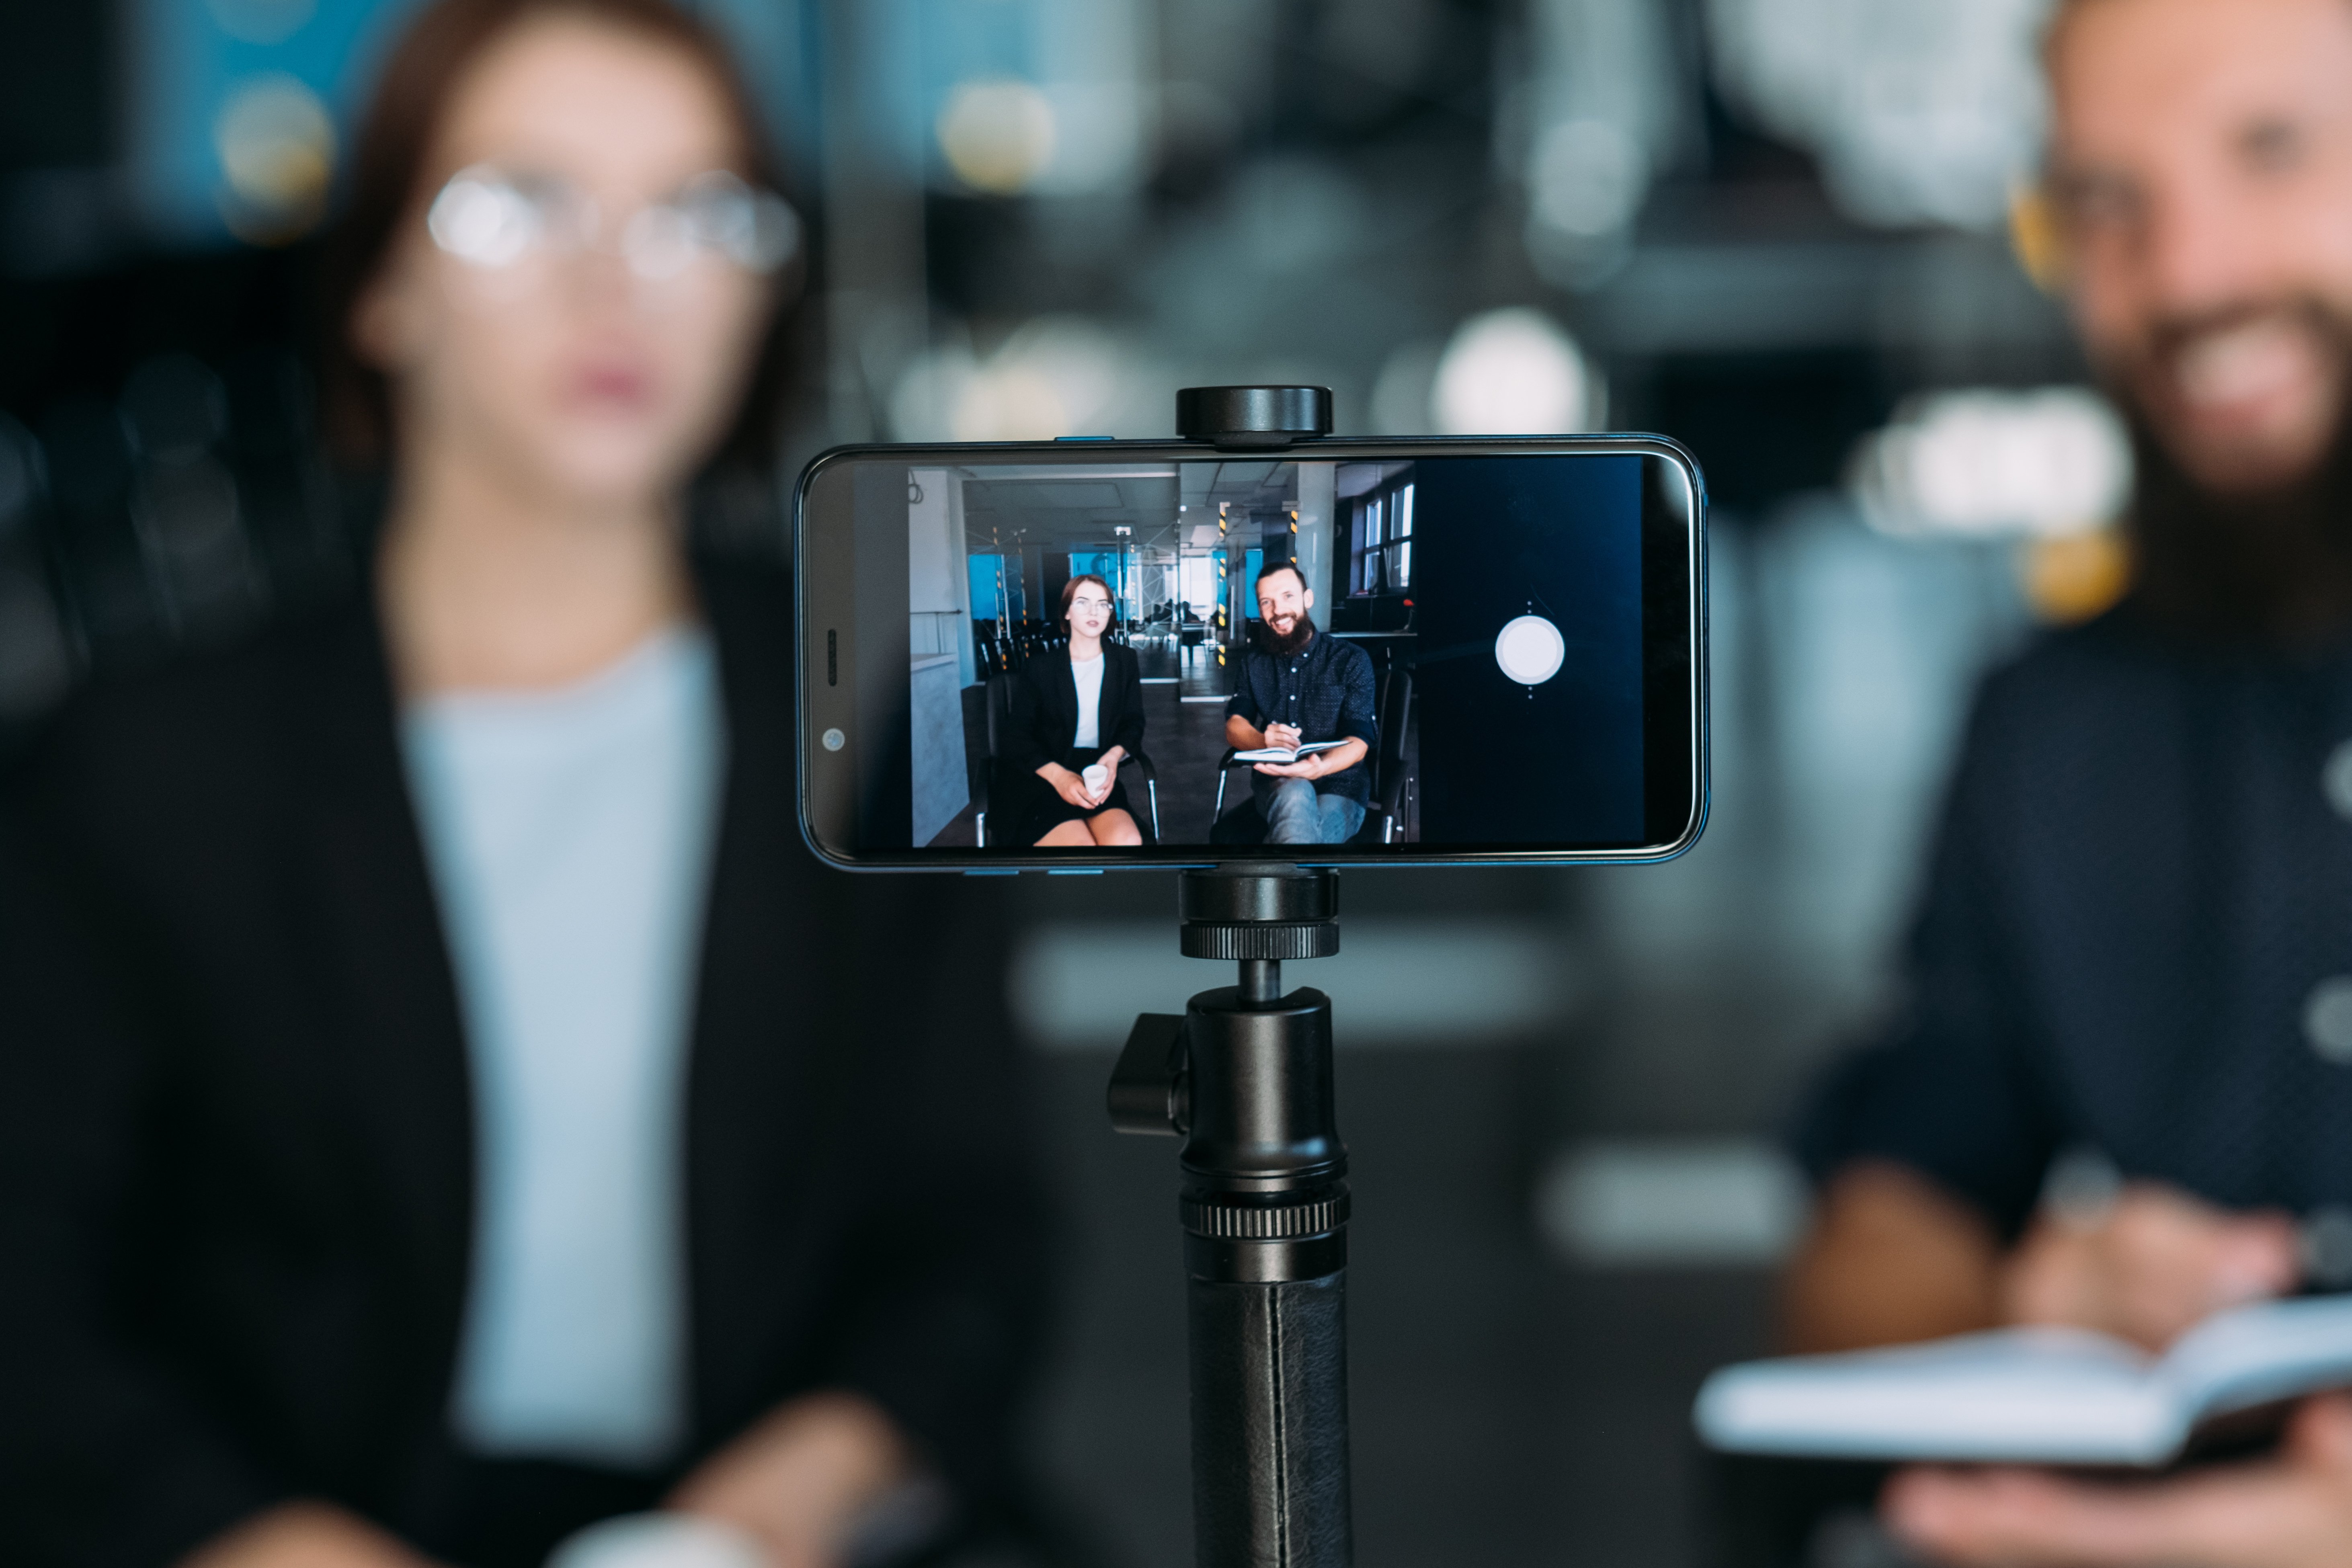
Stable and focused video
While some of us use our computer’s built-in camera for a forward-facing frame, others are joining video chats on their smartphones or tablets. If you’re using an iPhone to join a video conference, always be filming in landscape mode (horizontally) to ensure you fill the entire screen on larger devices. Additionally, the phone’s back camera is a higher quality than the “selfie-cam” that faces you. For those that are recording video projects and can’t quite navigate how to avoid slanting or crooked video footage, we recommend adding a grid to your phone to allow you to level yourself or your subject (Go to settings -> Camera -> and toggle on the word “Grid”). And to those feeling they need a tripod to stable their device, you can make one by stacking books, boxes, or anything with a flat surface to bring your device to eye-level when filming – we don’t want any unflattering angles.
Crisp and Clear Audio
Computer microphones were not intended for crisp and vibrant audio recording, so you must work extra hard to come off as clear and understandable as possible. Make sure to talk conversationally, like you were chatting with a colleague – not too fast, but not too slow. Taking frequent pauses in the conversation to ensure everyone is clear on the directions is important to avoid any miscommunication or confusion. If you’re using a phone or tablet, avoid covering the microphone on the device. If able, use headphones with a built in microphone to get the clearest audio.
Practice makes perfect
The best thing to do before you join a video conference is practice. Practicing (and recording your practice) is the easiest way to identify the flaws in your presentation and fix the errors. Many people don’t realize they are talking to fast or too quietly, might need to practice the inflation in their voices to avoid sounding monotone. Practice also ensures you understand the navigation and user interface of the software you’re using, helping to avoid any technical glitches. Lastly, make sure your devices are charged with full battery – the worst thing that could happen in your phone/camera/laptop dies halfway through your presentation or recording. Be prepared and charge ahead!
By Alexa Zeoli & Alex Boonstra